How to make images for publication using VMD
Probably the most obvious reason that we use VMD is that it could make very nice images for publication or visual appreciation(?). Creating images with high resolution is of the most importance.
Contents
[hide]Publication Figure Rendering With Tachyon
!!!Please first read this single-slide webpage!!!
I am also attending the journey of learning to render good images. So currently I could only provide you some useful links and my way of rendering. Please feel free to come to discuss with me or edit this page if you have a better way out.
--Kevin (talk) 19:41, 14 May 2014 (HKT)
A general and highly recommended mini-tutorial on VMD images and videos is provided here as a web-book. Also I found a very clarifying message with replies from one of the authors of the mini-tutorial in the VMD Mailing List.
Following is my step of rendering:
- Load VMD state of the Molecule.
- Go to File -> Render -> Tachyon
- Use "tmp.dat" for Filename in the render window
- Modify Render Command in the render window as follows:
Windows:"C:\Program Files (x86)\University of Illinois\VMD\\tachyon_WIN32.exe" tmp.dat -format BMP -o path/to/your/image.bmp
Mac:"/Applications/VMD 1.9.1.app/Contents/vmd/tachyon_MACOSXX86" -aasamples 12 tmp.dat -format BMP -o path/to/your/image.bmp - Start Rendering
N.B. In fact it is okay to select your image path using the Browse bottom and leave the %s in the Render Command line. However I just do not like the way it left me a dat file.
You should able to understand what has been done by VMD from the steps. Generally the VMD first renders the current scene to "test.dat" as a data file, then it uses the implemented program - "tachyon_WIN32.exe" or "tachyon_MACOSXX86" to read the data file and convert into a bmp. This is the trick from which we could make good images. Usually I use 2048x1024 which takes a little bit long time of rendering but provides more than enough resolution you need.
Transparent surface
If you have transparent surface, add this option: -trans_max_surfaces [1 to 5], it seems 1 work better. Source refers to here
Resolution
You may manually set the resolution with a desirable one by adding option: -res XXXX XXXX (e.g. -res 2048 1024).
Ambient Occlusion (AO)
Ambient occlusion lighting is enabled in the Display|Display Settings window by selecting "on" in "Amb. Occl" and "Shadows" choosers. Once ambient occlusion lighting is enabled, the effect is adjusted by manipulating the "AO Ambient" and "AO Direct" coefficients, which scale the lighting contribution from the ambient light, and from the standard VMD lights, respectively. In most cases, an ambient light coefficient ranging from 0.7 to 1.0 and a direct lighting coefficient of 0.1 to 0.4 are most appropriate and yield the best results. A rule of thumb that tends to work well is that the sum of the two lighting coefficients should be near to 1.0.
Material in Graphical Representations
It turns that that the material chosen affect the final visual effect most. As AO effect is highly recommended, a material that is fairly diffuse such as "Diffuse", or the AO-optimized "AOshiny", "AOChalky", or "AOEdgy" materials should be used.
Detailed options for tachyon here
But BMP is in fact not a convenient format communicating with LaTex or MediaWiki so we have to further convert it into PNG or JPG or GIF using external graphical software. It remains much to explore. PhotoShop is expected to involve in the future.
Format
As VMD is usually shipped with a tachyon which was not compiled with PNG support so, like in the above recommend commands, we usually render some BMP and then convert them to PNG in order to put them into Latex for instance. You might check by directly running your tachyon binary in VMD and it would give you
-format PNG XXX Not compiled into this binary XXX.
Hate doing conversions? Compile the Tachyon by yourself!
Visit The Tachyon Page and download the newest source codes. You might also have to download the libpng and compile it in order to specify the headers and libraries for png support during tachyon compilation.
So
- Compile libpng
- Compile tachyon
- Replace your tachyon binary in VMD with the self-compiled one
- Done, so easy
From now on, you are able to use the -format PNG option of tachyon. Congrats.
Mac: "/Applications/VMD 1.9.1.app/Contents/vmd/tachyon_MACOSXX86" tmp.dat -format PNG -o path/to/your/image.png
TCL Scripting
Wanna script your tachyon rendering in a tcl scripting so it could make you thousands of nice images during your tea break? Run
Render Tachyon tmp.dat
first so you will have the tmp.dat as the input for
Mac: "/Applications/VMD 1.9.1.app/Contents/vmd/tachyon_MACOSXX86" tmp.dat -format PNG -o path/to/your/image.png
in the next line. So easy.
VMD View Change Rendering Tutorial
Specific Cases
Transparent surfaces with drawings
There are few notes to pay attention with:
- Any transparent surface would make the rendering hell slow (QuickSurf would make it even slower!), so be patient or get yourself a GPU-accelerated VMD. Soon you will note that you might need more than one rendering in order to try out the best AO Ambient and AO Direct so it definitely kills you when one single rendering could cost you up to 1 hour!
trans_max_surfaces 1is highly recommended for most of the cases that you want a transparent surface to show the shape but also seeing things inside it.AO Ambient 0.8, AO Direct 0.4is recommended fortrans_max_surfaces 1after I have tried out nearly all the combination. However, it is still subjected to your own case, but if you are in a hurry, just stick to this.- In order to use
trans_max_surfaces 1, you have to stick to tachyon binary shipped with VMD. (So you are not able to output as PNG files again. Fine.) I have not yet found the way self-compiling the tachyon with thetrans_max_surfacesoption. - You might also want to specify your
draw materialto be AOChalky in order to have the best visual effect under AO.
Transparent objects
If you do not intensely requires the transparent thing to be the surface of some objects, you might drop trans_max_surfaces 1 and get back to Internal Tachyon as it is faster. Also note that:
- Whenever you are not satisfactory with the result, add
trans_max_surfaces 1back. - QuickSurf still kills you in means of time and disk space.
EdgyGlassis a good choice for material.GlassBubblealso gives funny effects.
Shining light to your system
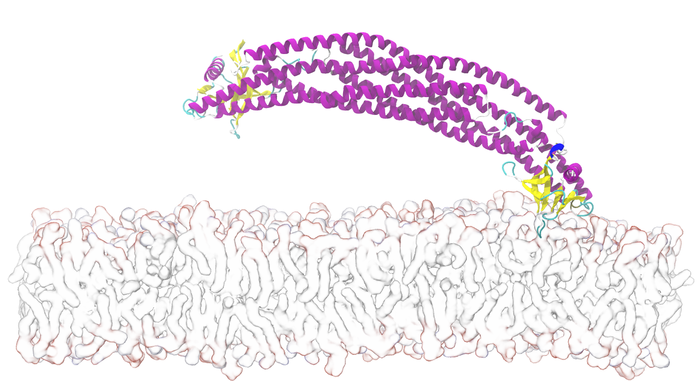
I simply gave some simple options in order to have the following images:
- -res 4096 2048
- Display > Background > Gradient
- Shadows ON, Amb. Occl. ON
So we could focus on adjusting AO Ambient and AO Direct.
Basically the rules are:
- In most of the time just stick to the default value: 0.8 0.3
Well I do not know why the default value in fact do not add up to have 1.0 but anyway it works fine for most cases. - If you think it is too dark, increase AO Direct by 0.1, e.g. 0.8 0.4.
- If you think it is a little bit too bright after that, decrease AO Ambient by 0.2, e.g. 0.6 0.4.
Well I must admit this is kind of obsessive compulsive disorder (OCD).
Membrane
Rendering membrane is a tedious artwork. In order to emphasise the head-and-tail conformation of lipids, we usually colour two layers of membrane differently. An easy to do this is to keep a layer of water on the membrane surface so they can be easily separated by water and not water selections. To further reduce the size of your system (in order to avoid crash of VMD), I only wrote element C of the lipids. So here are the two selections:
segname O4 O6 O8 and element Cwater within 3 of segname O4 O6 O8
Also, this two vectors help you to duplicate the lipids in the x-y direction:
- {240 0 0}
- {0 -80 0}
You will find this command very very useful when duplicating membranes:
set mol3 [::TopoTools::selections2mol "$sel1 $sel2"]- Or you might make use of the MergeStructs Plugin, http://www.ks.uiuc.edu/Research/vmd/plugins/mergestructs/
Also note the following representation configurations:
- Material: AOShiny
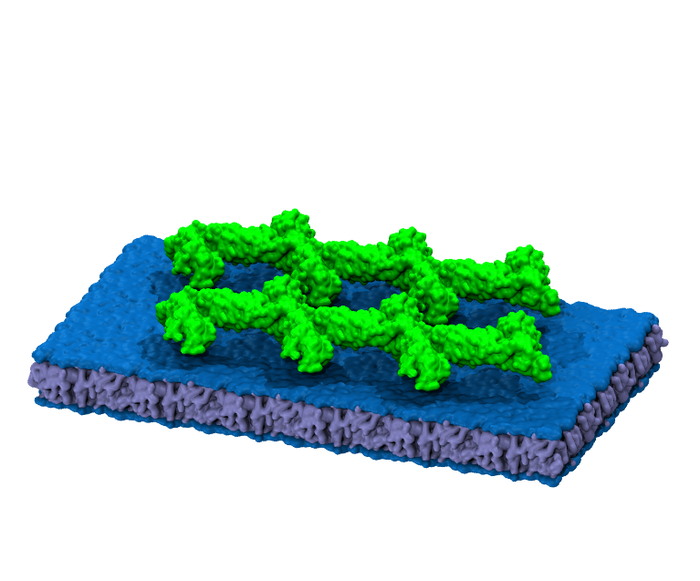
- Color: Blue2 for water, Iceblue for not water, green for protein
- QuickSurface: Radius Scale: 1.5 for water, 1.0 for not water, 1.0 for protein
- QuickSurface: Surface Quality: Max for all
- AO: 0.6 0.4
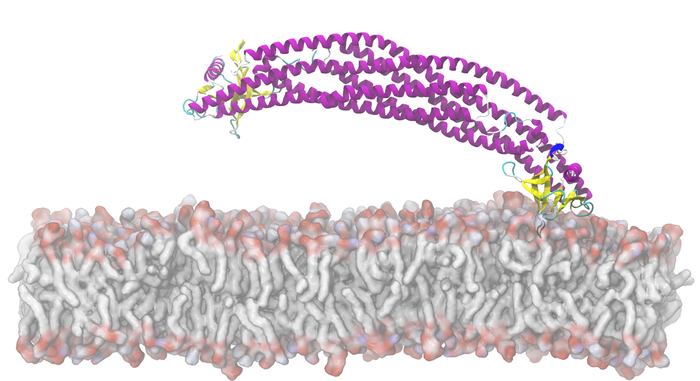
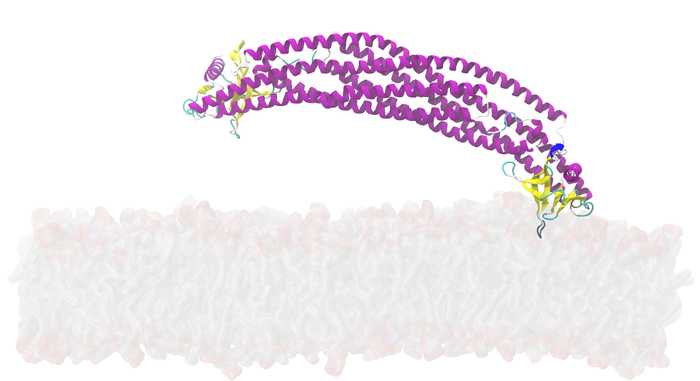
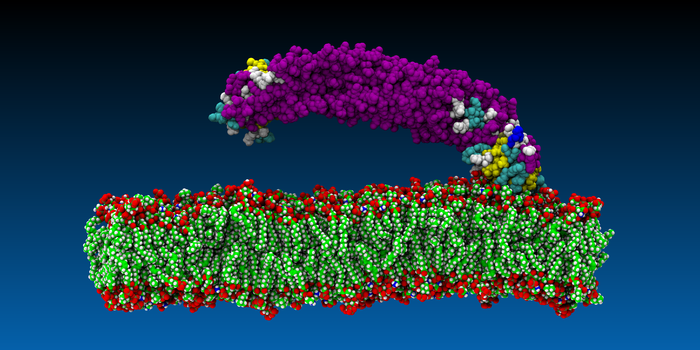
A standard protein-membrane system
As you might have to render a number of such protein-membrane systems for presenting your simulation setups, here are some very standard steps:
- Prepare your preferred angle of view
- Representations > Change materials to AOs
- Display > Display Settings > Turn on AO effects
- Turn off Light 4 and Light 3/2
- Tachyon Render in Memory. Done!
Examples:
